Exam Tools Usage Guide
- 작성자
- admin
- 작성일
- 2026.09.03 14:43
- 조회
- 70
Please familiarize yourself with the usage instructions and exam-taking tips in advance.
(A word whispered before the instructions)
Everyone gets nervous before an exam. But please remember one thing:
Unlike the KCA examiners in Korea, we VEs are not just here to evaluate you — we are fellow amateur radio operators who hope every candidate passes safely and that we can all get on the air together someday.
This exam is not meant to discourage you. Before we start talking to each other over the airwaves, it's simply a process to confirm that you have a solid grasp of the basic knowledge and rules every amateur radio operator should know.
All the VEs on our team provide every possible convenience and assistance within what the regulations allow, so that candidates can obtain their US amateur radio license smoothly.
So please don't feel too much pressure — relax and take the exam with an easy mind.
If you'd like, feel free to bring a sweet drink with you before the exam.
We hope all of you pass safely, and look forward to meeting you on the air someday.
1. System Access and Exam Preparation
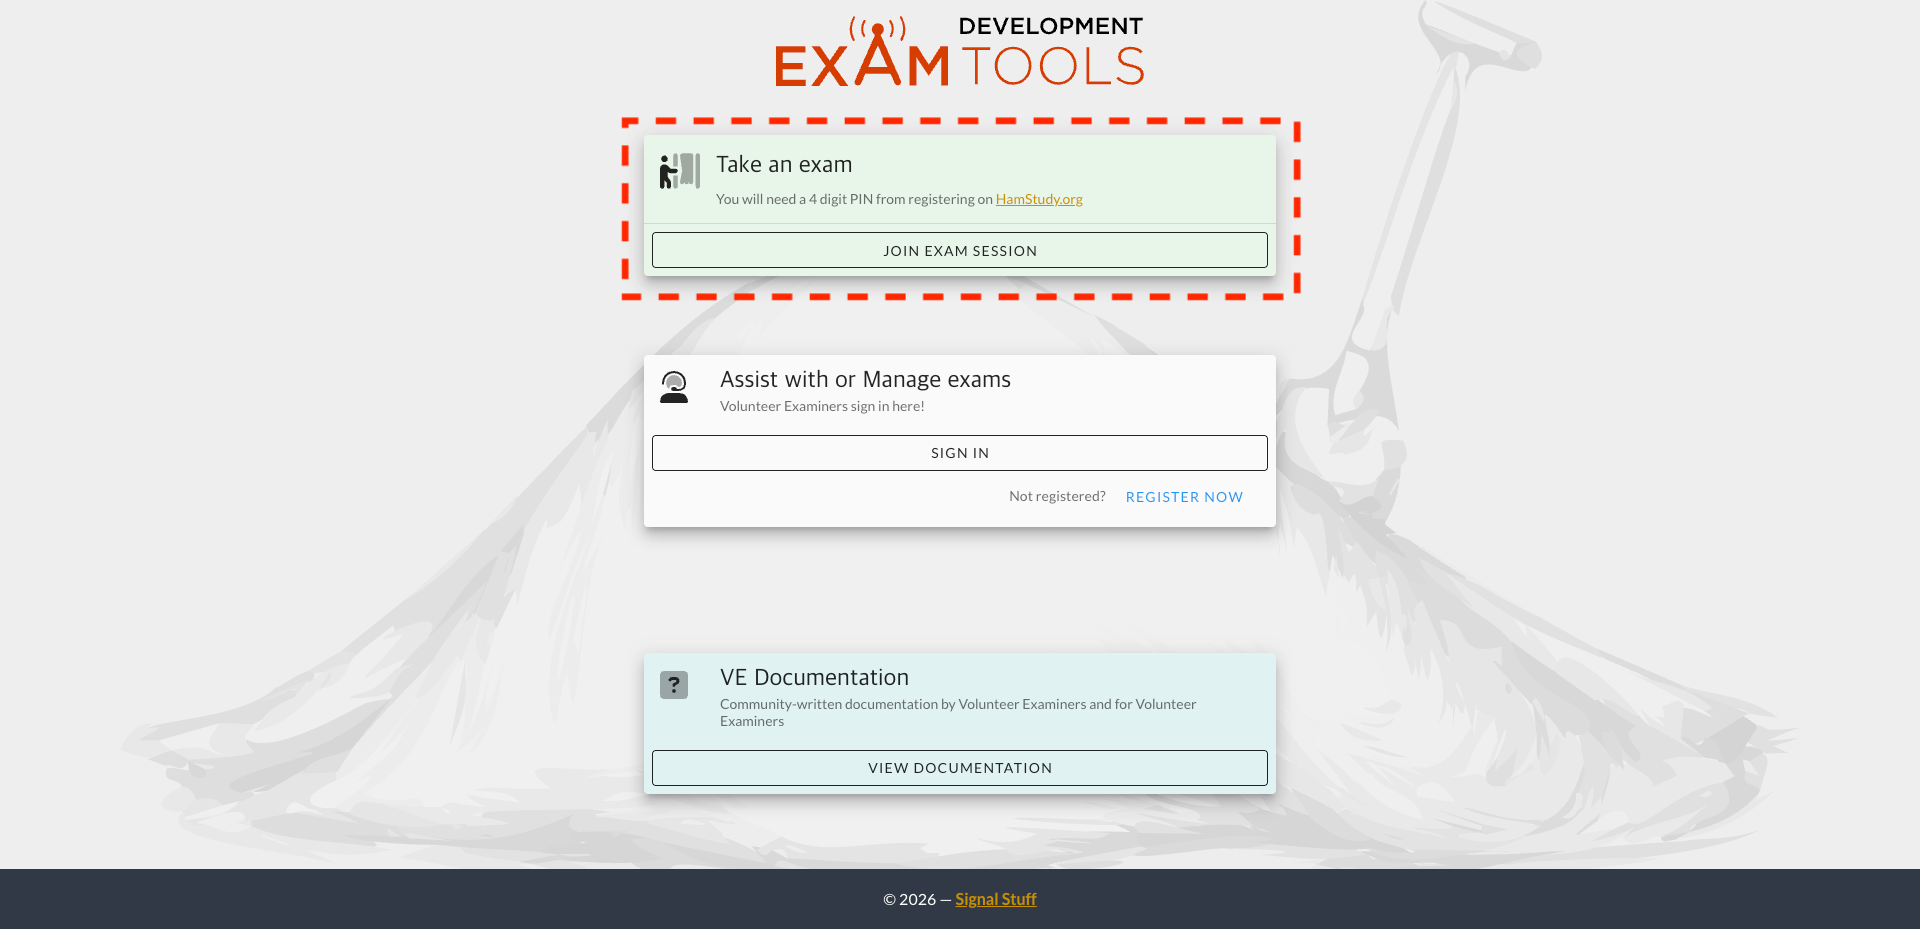
Once identity verification is complete and the exam begins, please go to https://exam.tools/ as instructed by the examiner and click JOIN EXAM SESSION.
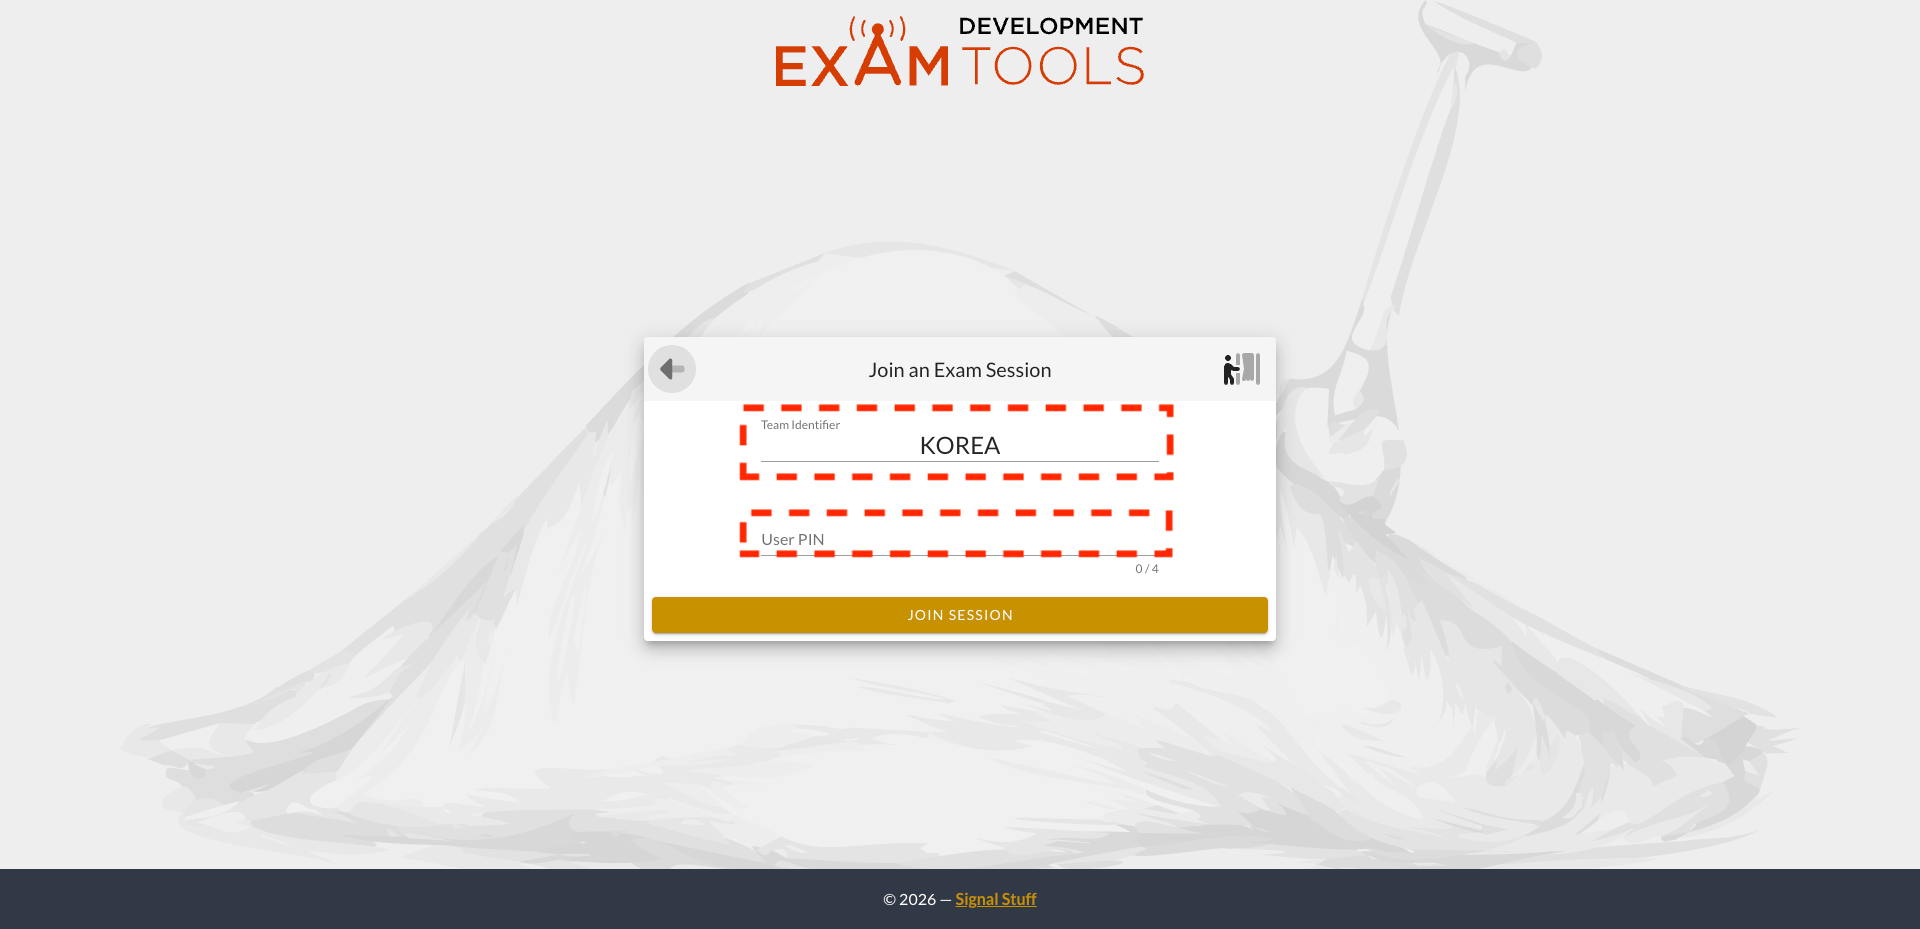
For Team Identifier, enter KOREA.
For User PIN, enter the 4-digit PIN number you received by email after registering for the exam.
If this is your first time taking the exam:
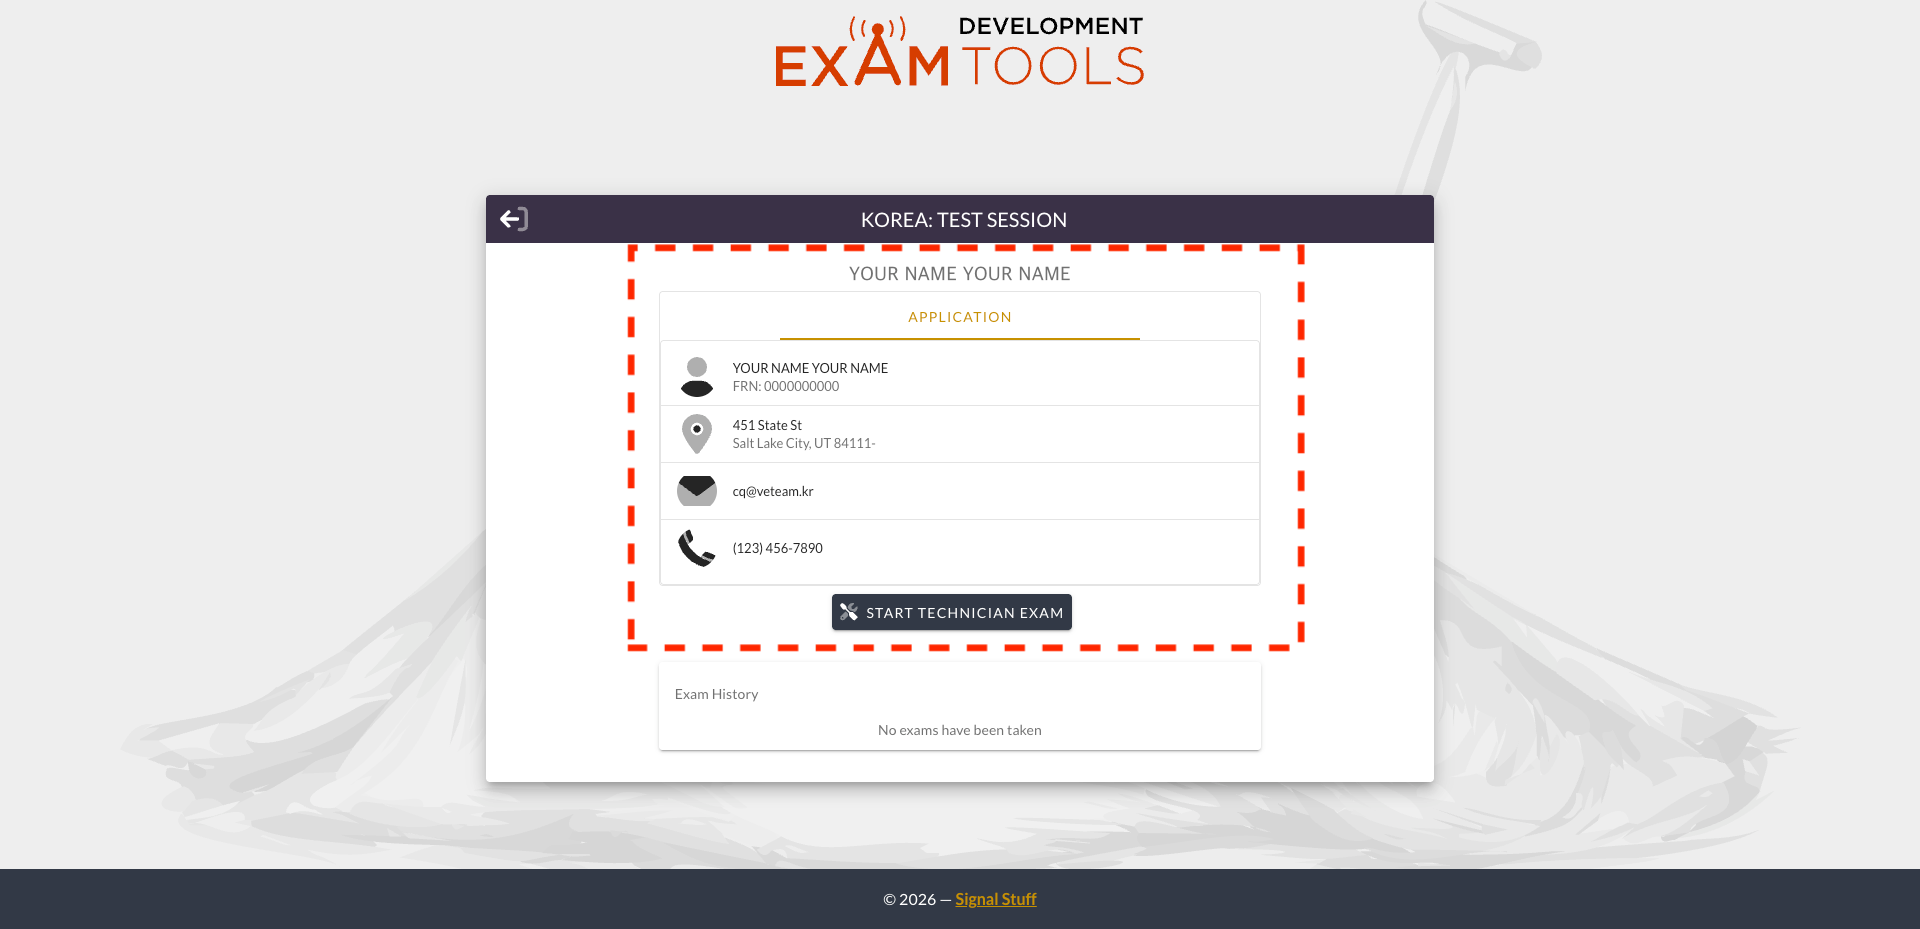
After confirming that your information — name, FRN, address, email address, phone number, etc. — is correct, click START TECHNICIAN EXAM as instructed by the examiner.
If you have taken the exam before, or are eligible for element credit:
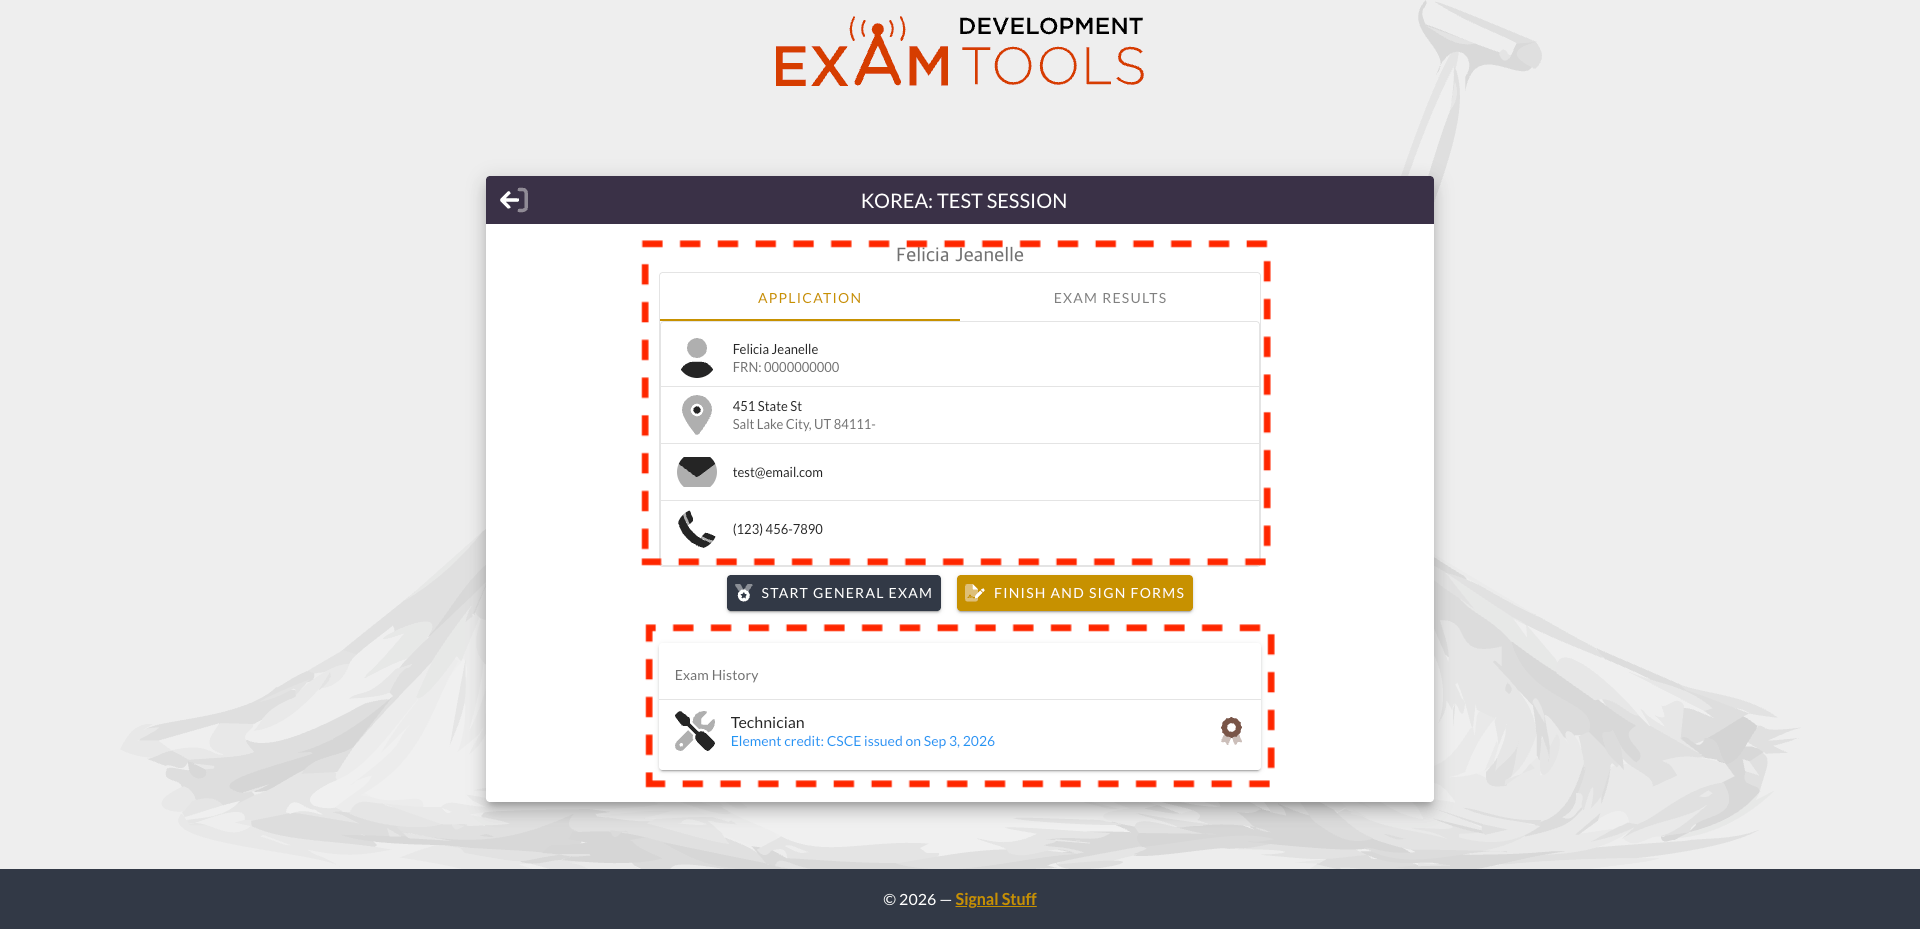
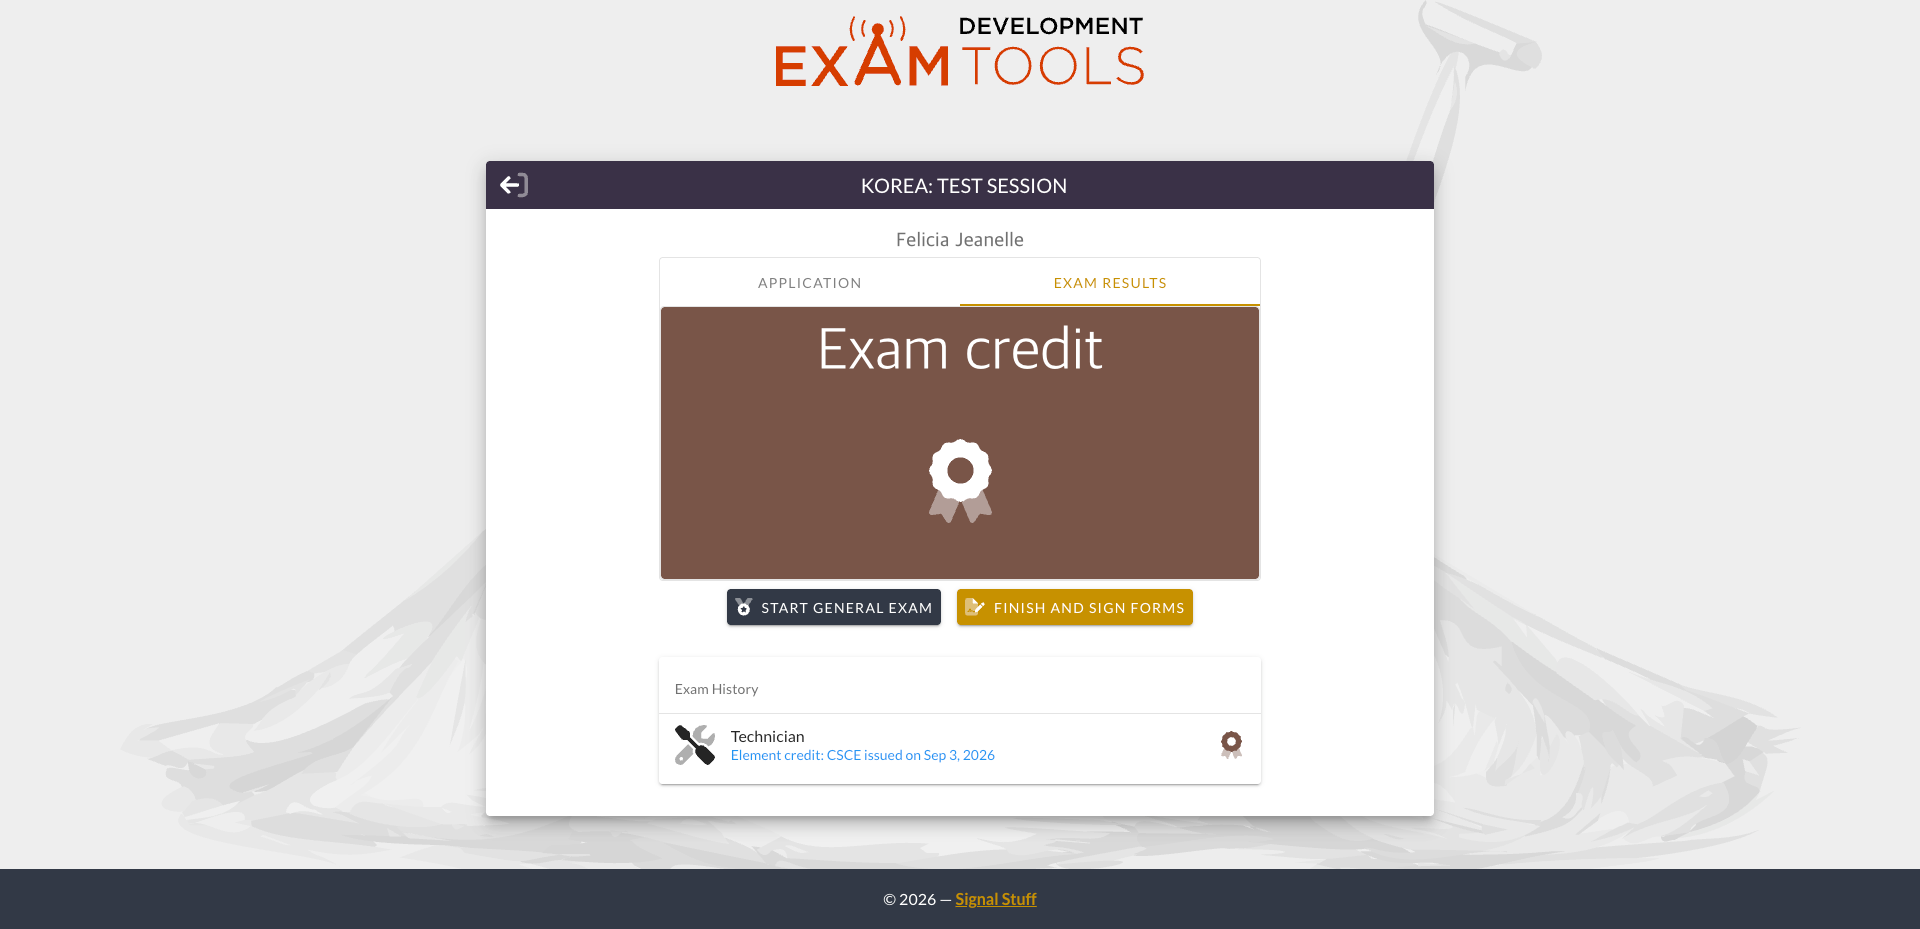
Likewise, first confirm your personal information, then be sure to check that the credits are properly reflected under Exam History and EXAM RESULTS.
After that, click the appropriate exam start button — such as START GENERAL EXAM — according to your exam class, as instructed by the examiner.
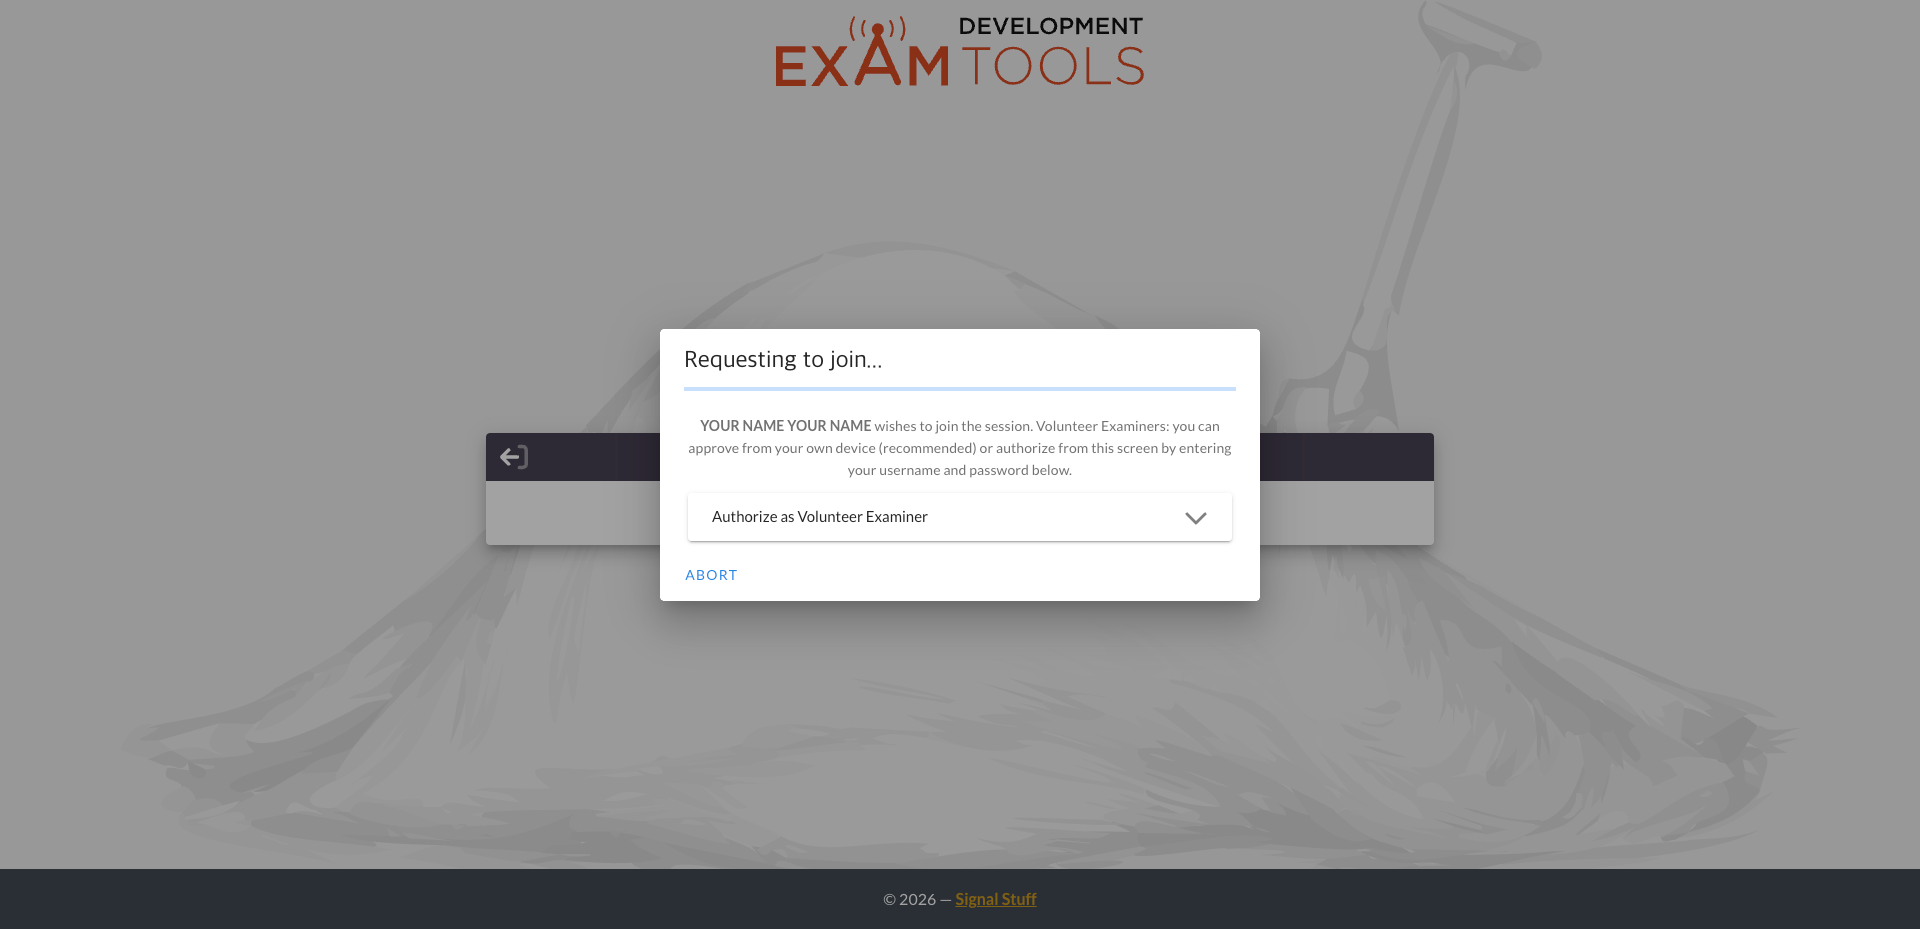
Once you click the exam start button, the following window will appear.
All exams require the examiner's approval (APPROVED) before you may begin. Please wait until the examiner clicks the approve button in the system.
2. Taking the Exam
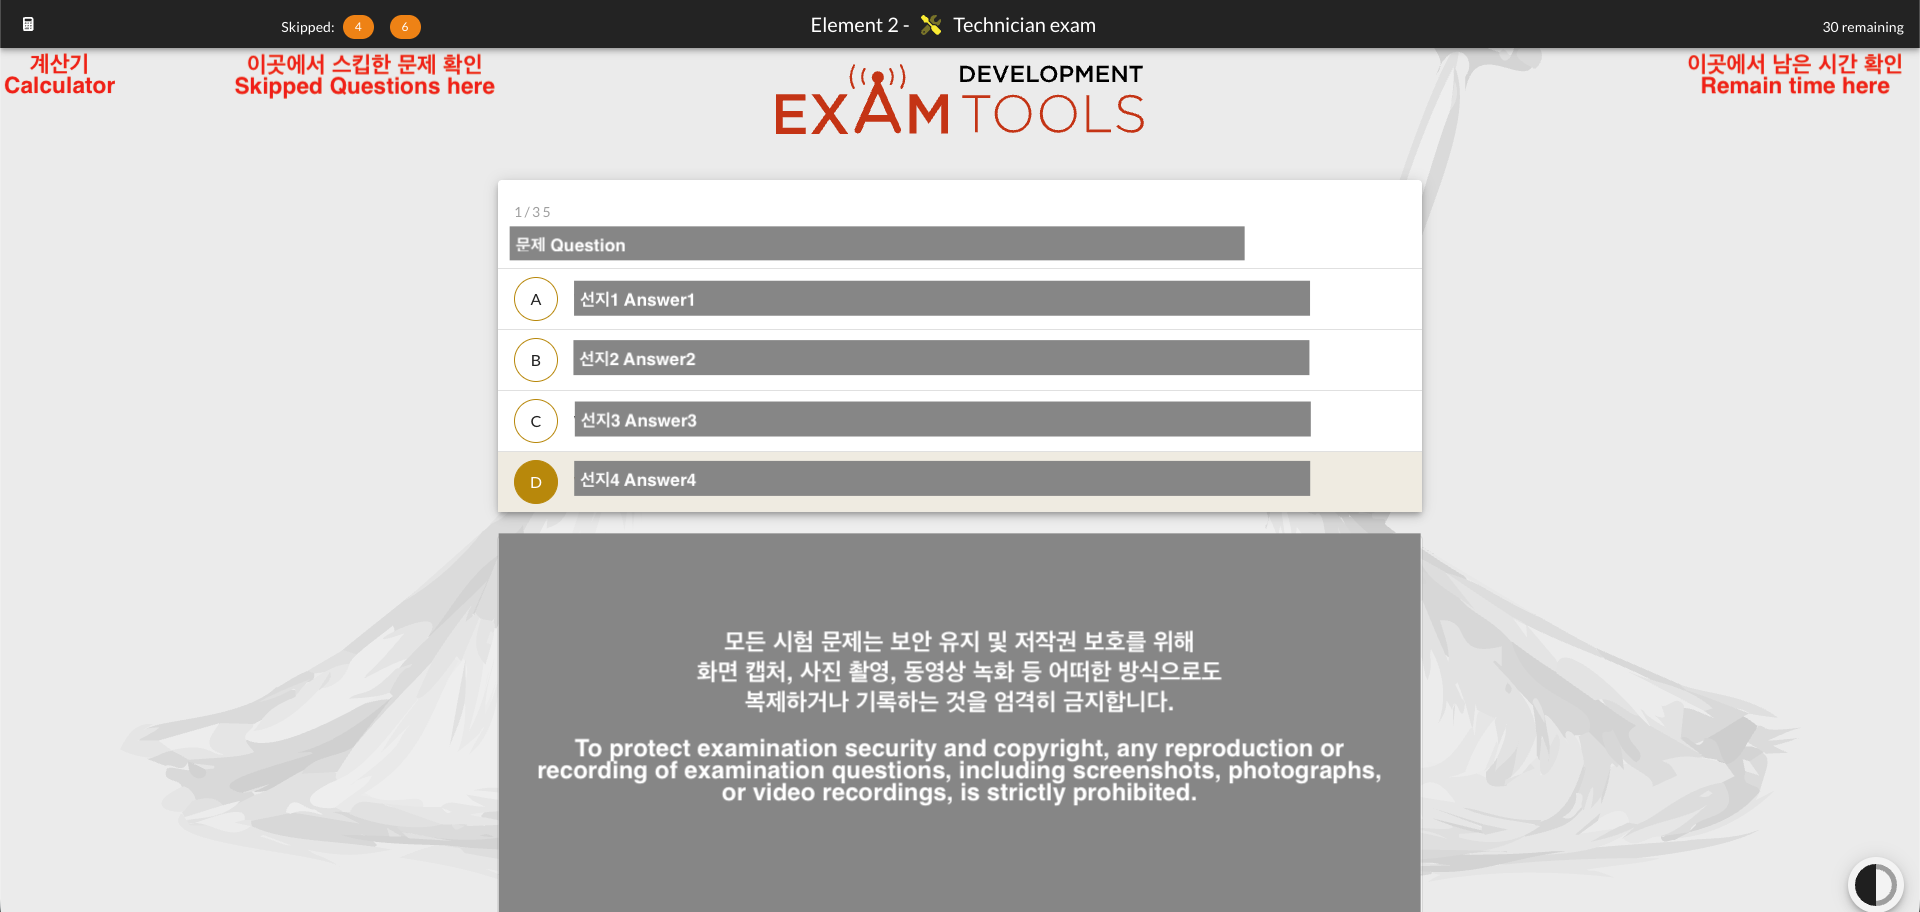
This is a sample screen of the exam. To protect security and copyright, capturing, photographing, video-recording, or otherwise duplicating or recording any exam questions in any way is strictly prohibited.
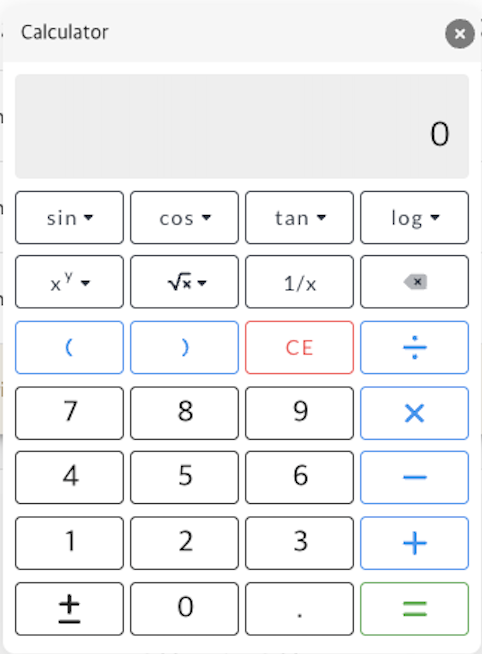
Clicking the calculator button in the upper left will bring up a calculator you can use, as shown.
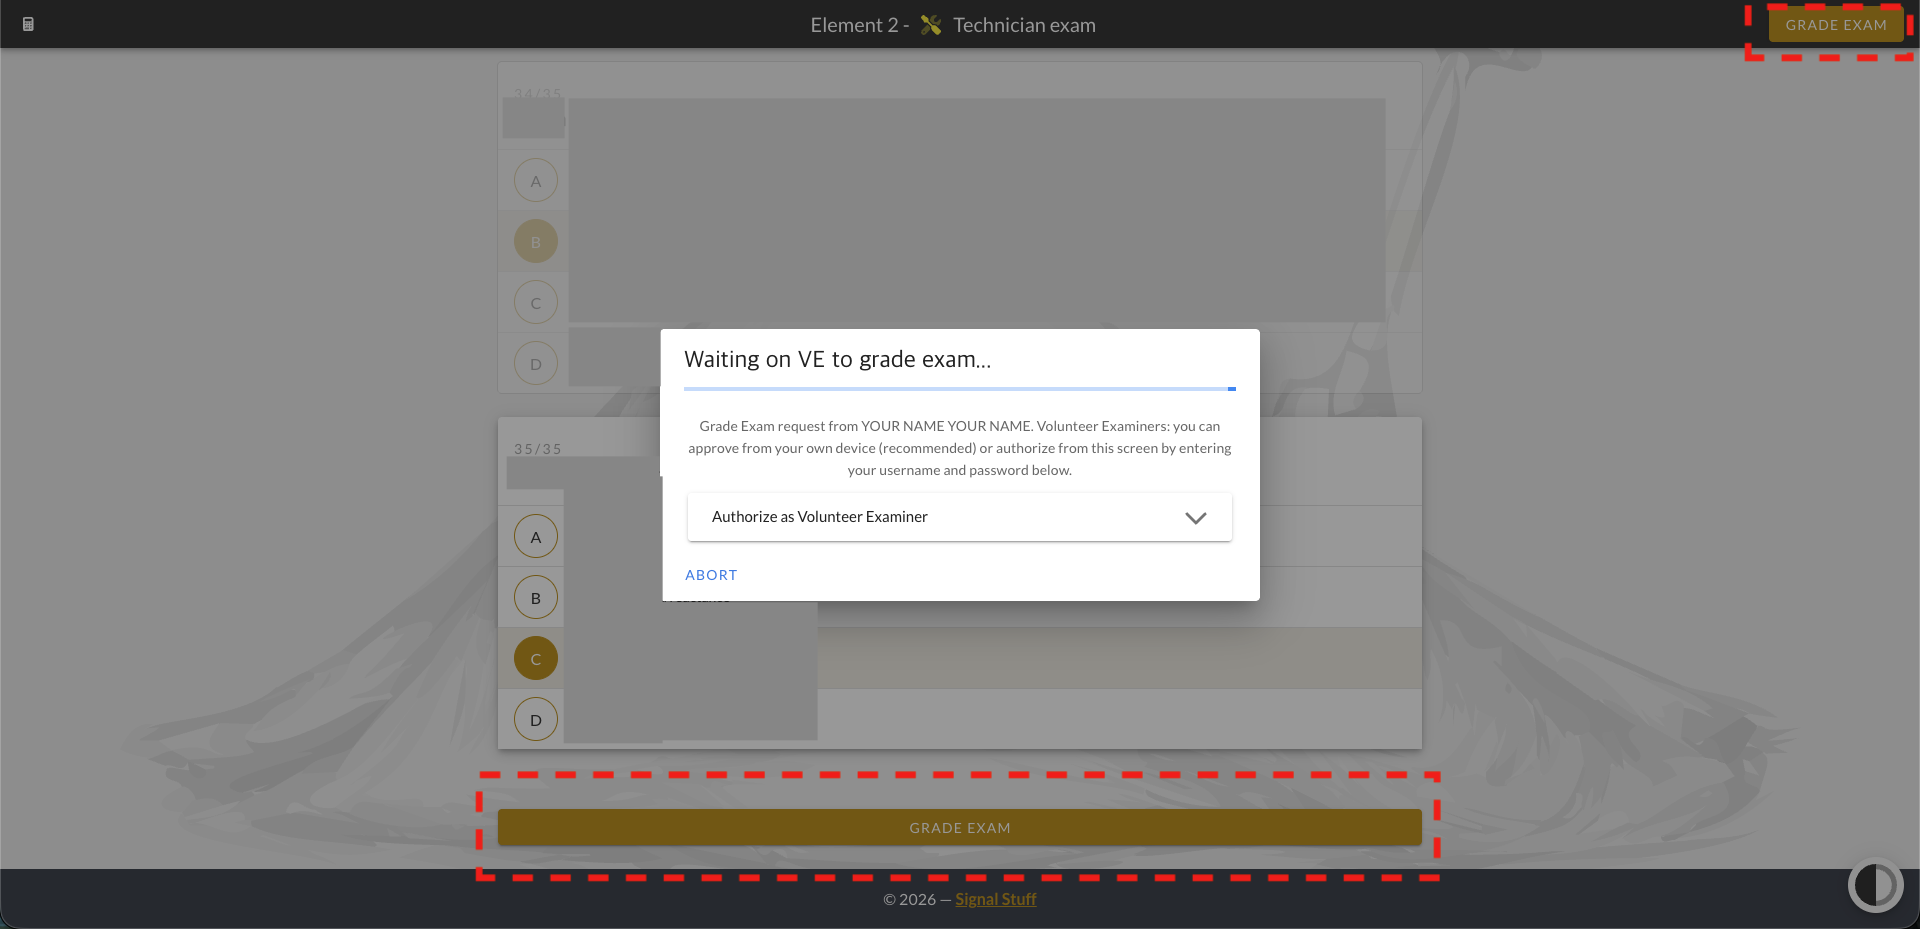
Once you have selected all your answers and click the GRADE EXAM button, a waiting screen will appear (as shown in the image) until the examiner ends the exam. Please avoid clicking the GRADE EXAM button on your own first — instead, tell the examiner that you have finished entering your answers, and click the button only when instructed to do so.
Even if you happen to click it first by mistake, simply let the examiner know that you have finished your answers and they will end the exam for you.
Once the exam is ended, it cannot be undone — as soon as the examiner clicks the end-exam button, the exam is automatically graded.
3. Finishing the Exam and Checking Results
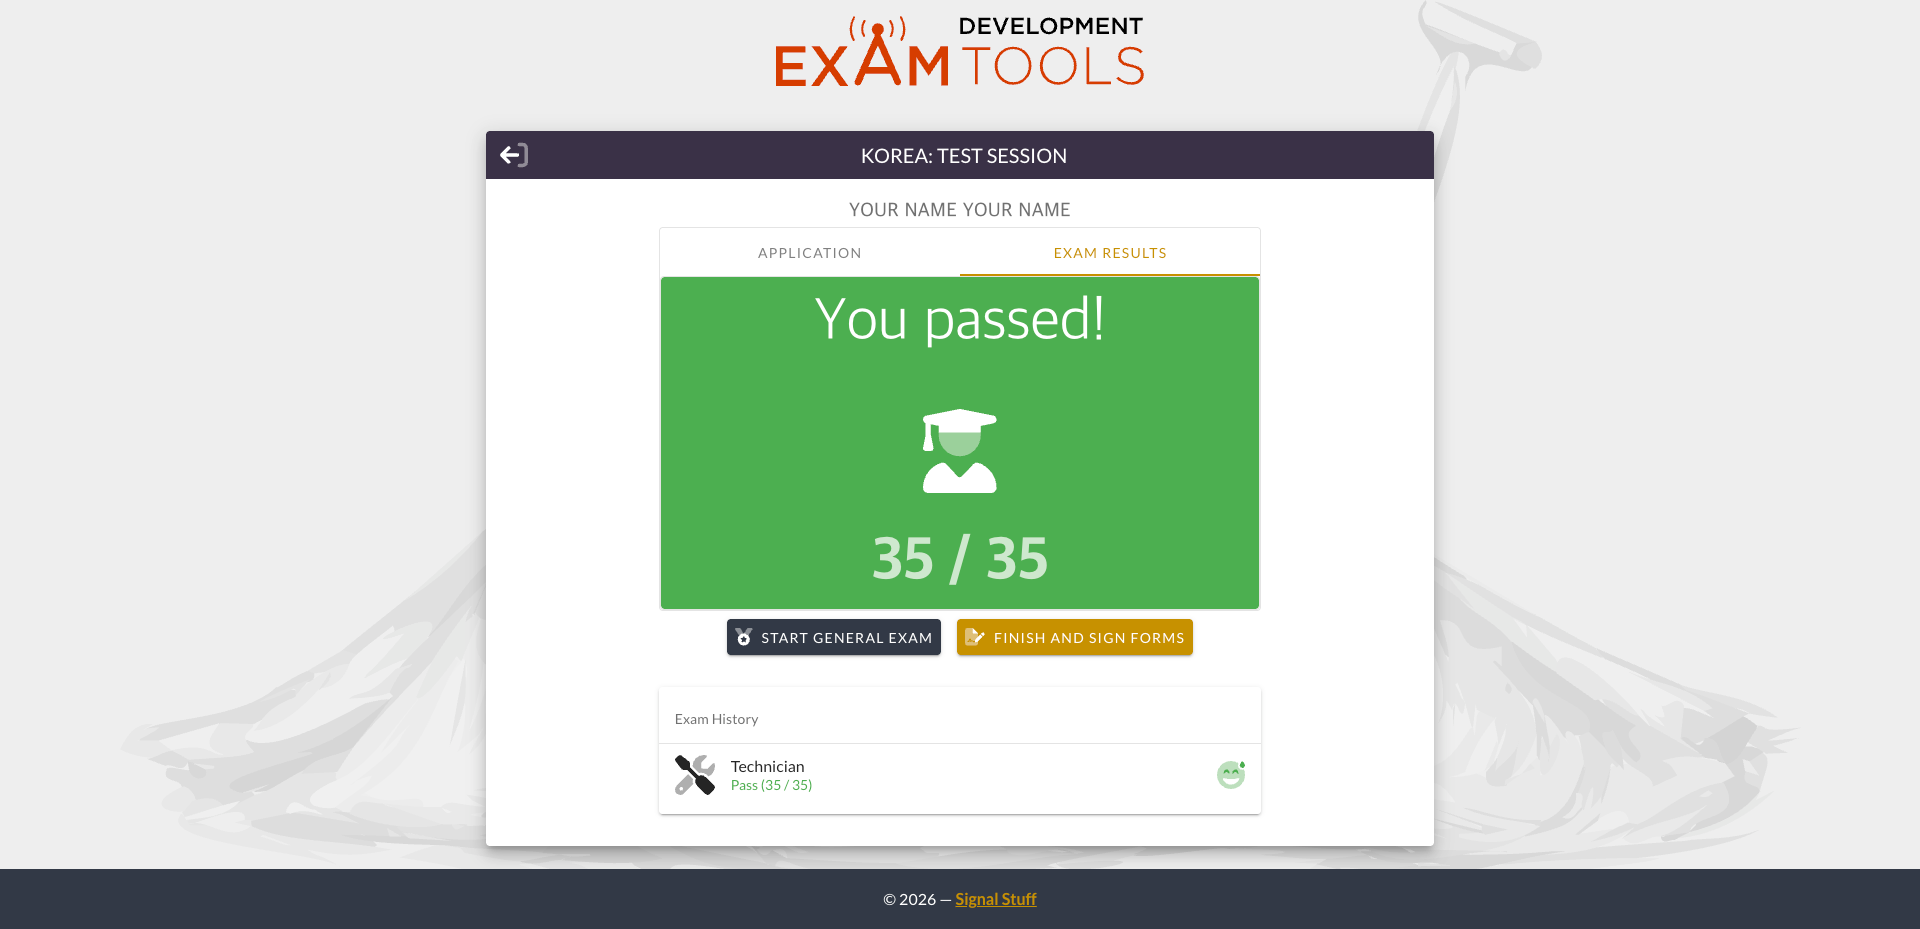
As soon as the examiner ends the exam, your grading results will appear immediately.
After checking your score, if you wish to take the exam for the next class, please click the START button as instructed by the examiner once you've reviewed your results.
Even if you did not register for multiple exam classes in advance, at the examiner's discretion you may be able to take a higher-class exam on the spot using that same button.
Also, if you fail the exam, at the examiner's discretion you may be able to retake it on the spot.
However, this is entirely at the discretion of the examiner administering the session at that time, per the regulations — so depending on circumstances such as insufficient time, a retake or additional exam may not be offered.
If you do not wish to take any further exams and would like to finish, please click the FINISH AND SIGN FORMS button.
4. Reviewing Documents and Personal Information
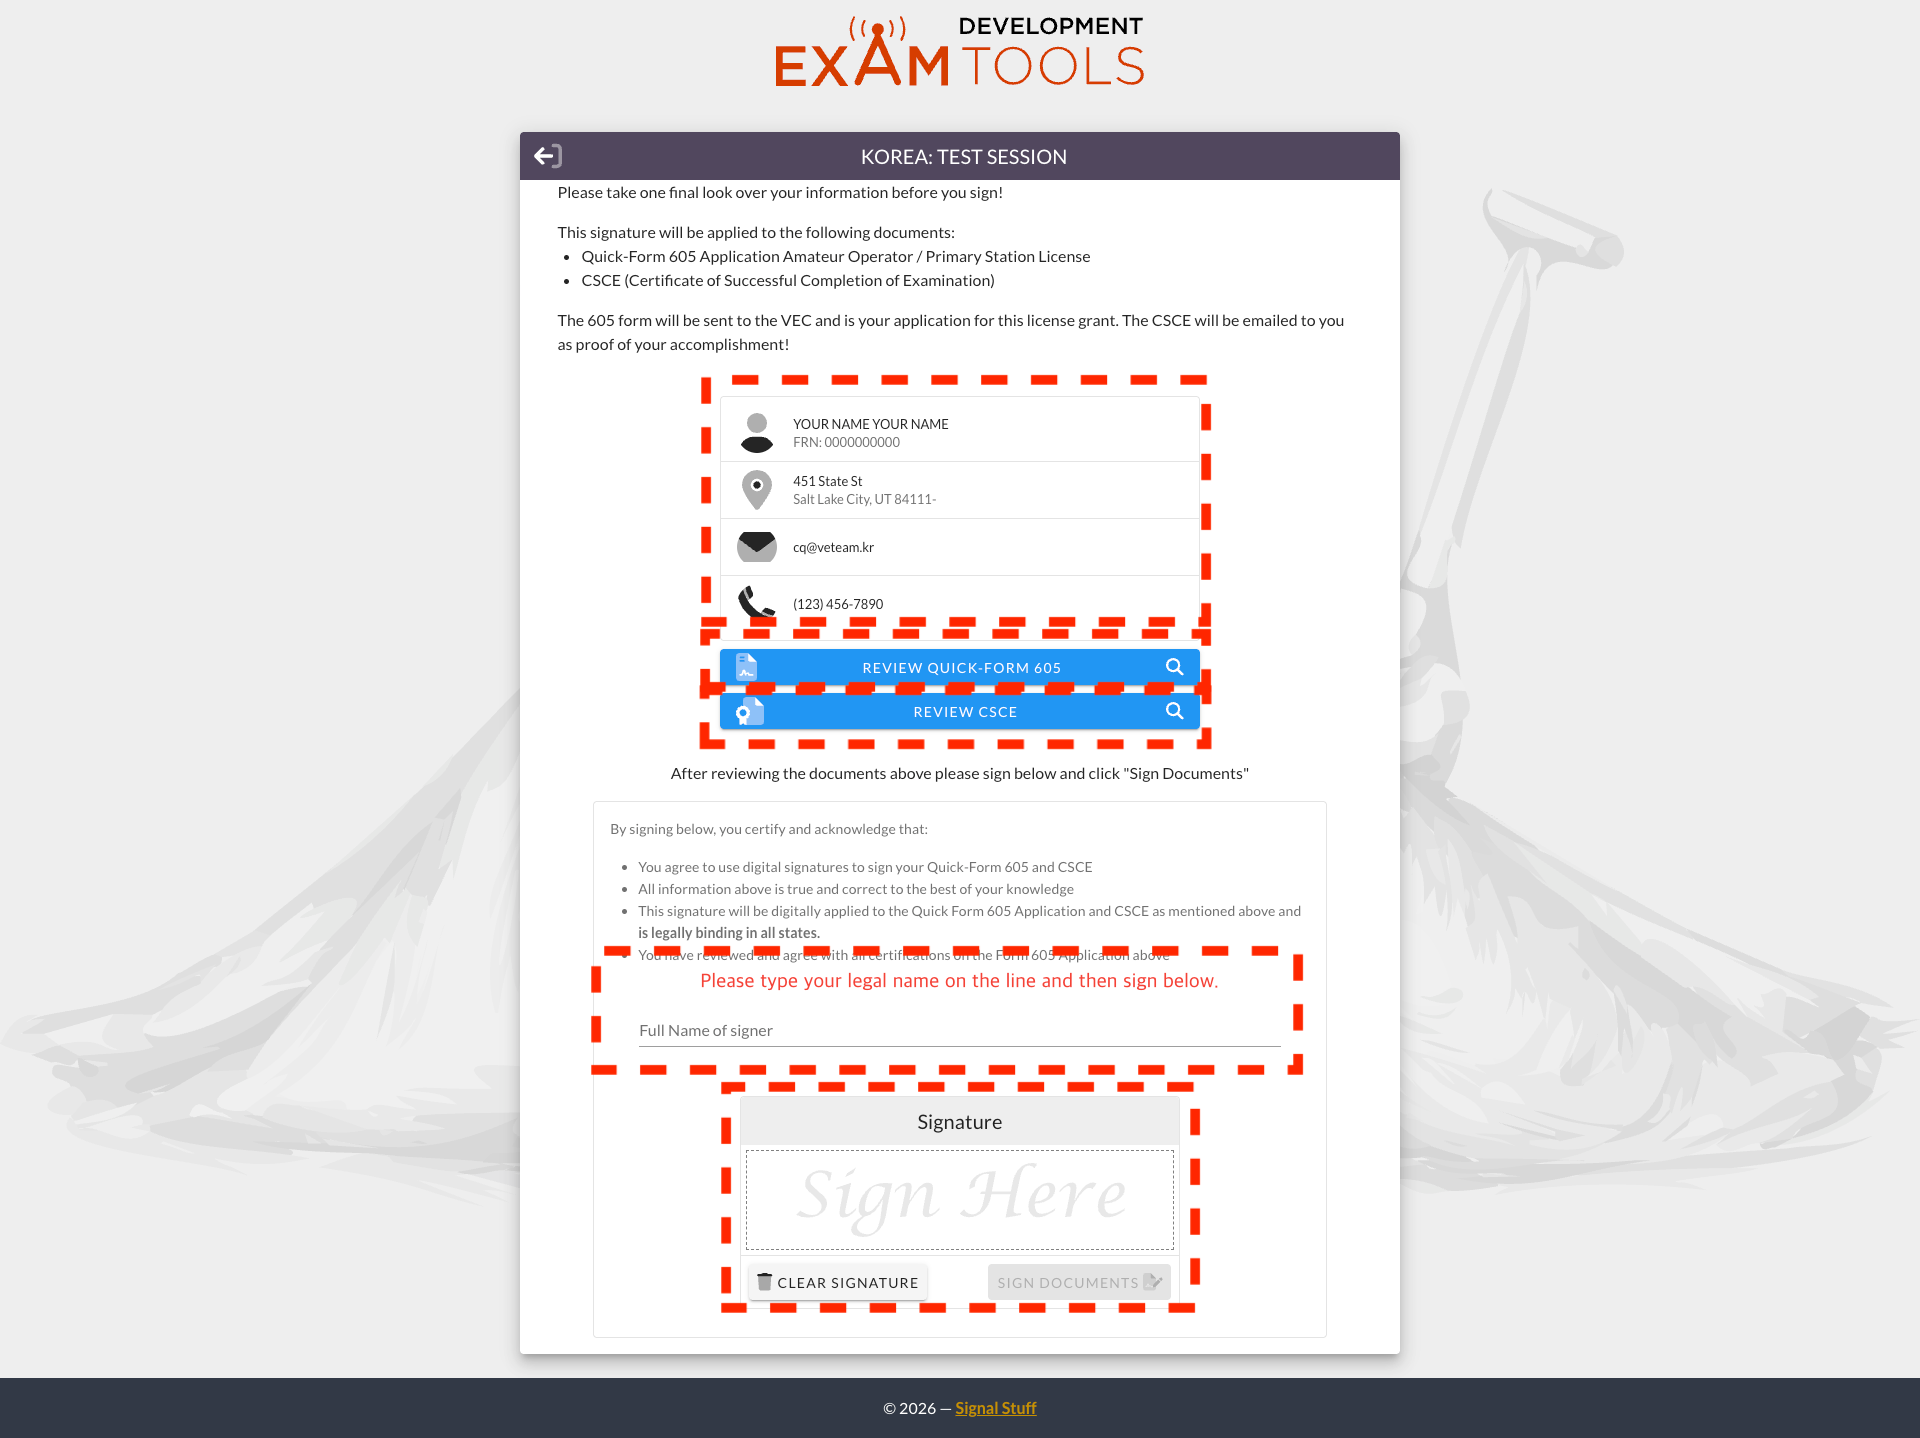
Please check your personal information once more, and click the REVIEW QUICK-FORM 605 button and the REVIEW CSCE button respectively to confirm that the information on both documents is correct and free of errors, and to review any notices/cautions listed on the documents.
Once you have confirmed everything, write your Korean name in English in the Full Name of signer field, and sign in the Signature field.
Once your signature is complete, click SIGN DOCUMENTS.
Among the documents you reviewed, the CSCE will be sent to your email.
It is valid for one year, and is required if you take a higher-class exam before your call sign is issued or before you are registered in the FCC ULS system — so please make sure it is filled out correctly before signing, and keep the CSCE you receive by email in a safe place.
5. Congratulations — All Steps Are Complete!
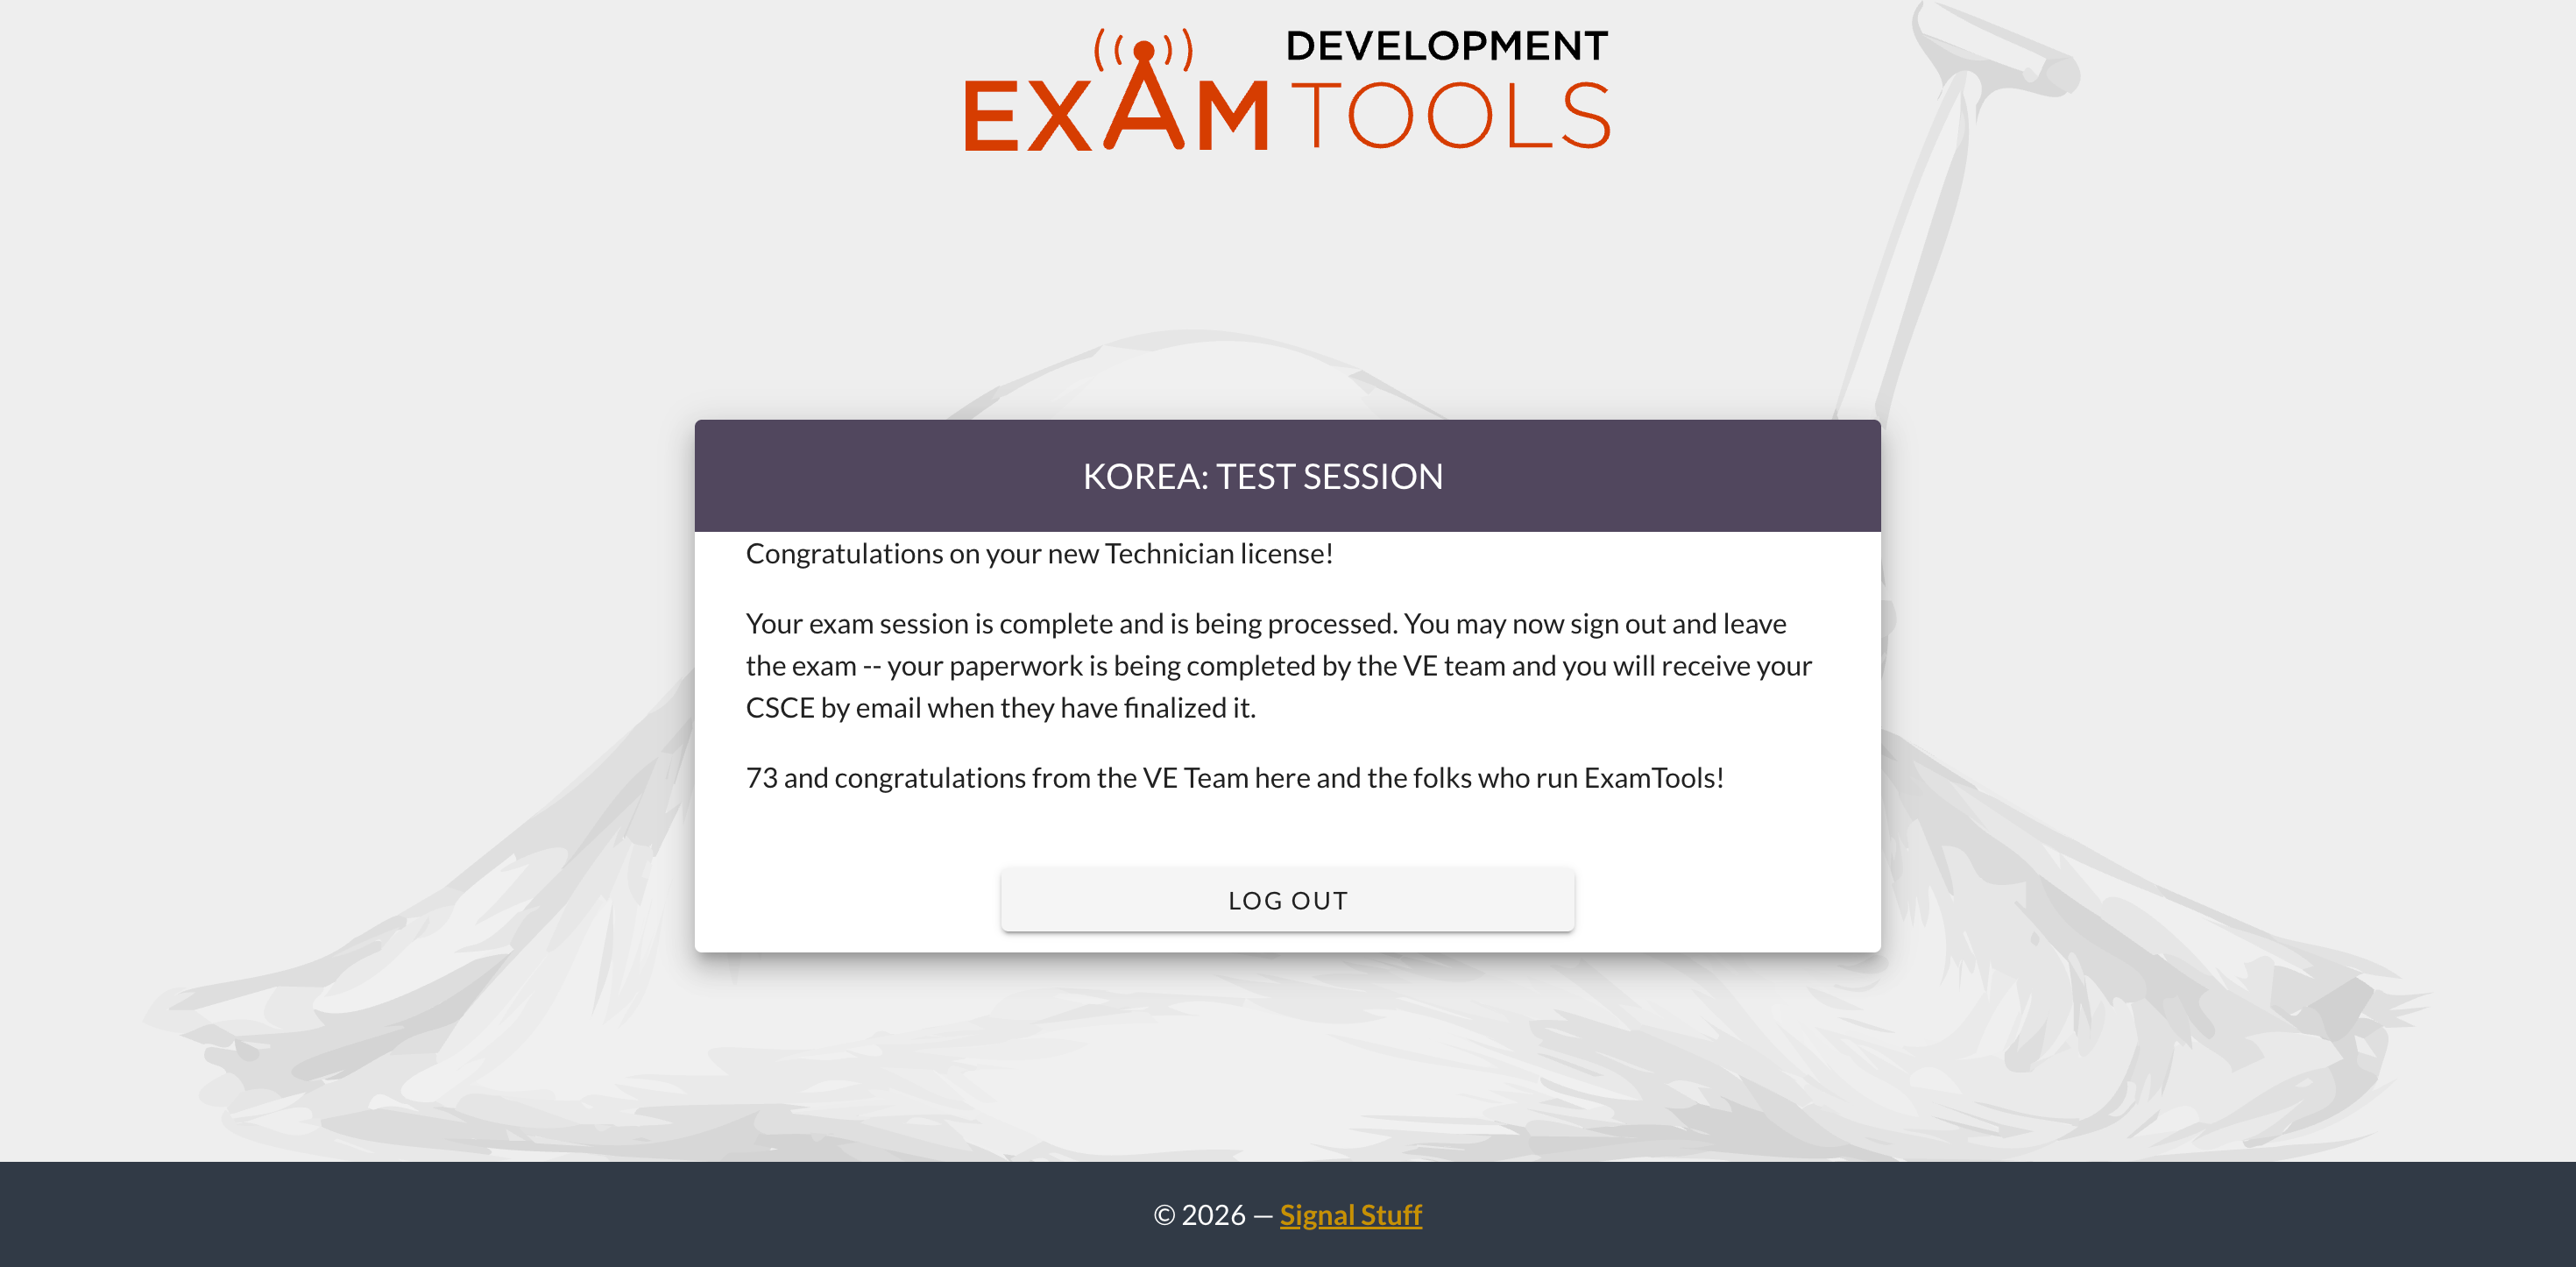
Congratulations on joining the ranks of amateur radio operators. Since all steps are now complete, you may click the LOG OUT button to exit.
If you have any further questions, please feel free to reach out at any time.
After reviewing the above, if you have any questions, please contact us anytime via the chat support at the bottom right of the main page at https://veteam.kr, or by email at [email protected].
Thank you.
VE Team Korea
대한민국 FCC 아마추어무선 자격시험팀